How to partition a hard drive

When we talk about "drives" labeled C:, D:, and so forth, we're actually talking about partitions, sections of the physical drive. Every hard drive in use has at least one partition. You can shrink that partition and create new ones out of the extra space. You'll find this useful if you want to install more than one operating system, or if you want to truly separate programs and data.
[Email your tech questions to answer@pcworld.com.]
But first, you need to take some precautions. If you don't already have one, make a full image backup of the entire drive. Disasters happen.
Next, make sure you have enough free room on the existing partition to create the new one. You may find the following articles useful in clearing up space:
- How to make room on your Windows partition
- Find duplicate photos
- How to find and remove duplicate files
- Automatically delete a huge amount of duplicate files
If you still don't have enough room, you can move files to an external drive. Once the partitioning is done, you can move them back to the new partition.
Now you're ready to do the actual parititoning. Windows 7 and 8 both come with a reasonably useful partitioning tool. It will probably serve your needs, and if it doesn't, you'll know soon enough.
In Windows 7, click Start, or inWindows 8, go to the Search charm. Either way, type
partitions (and yes, you need the s), then select Create and format hard disk partitions.
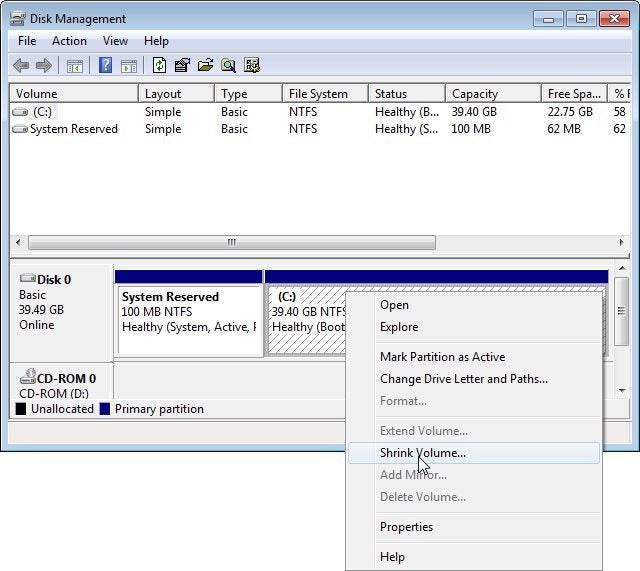
The Disk Management program will come up. To shrink the existing partition, right-click it and select Shrink Volume.
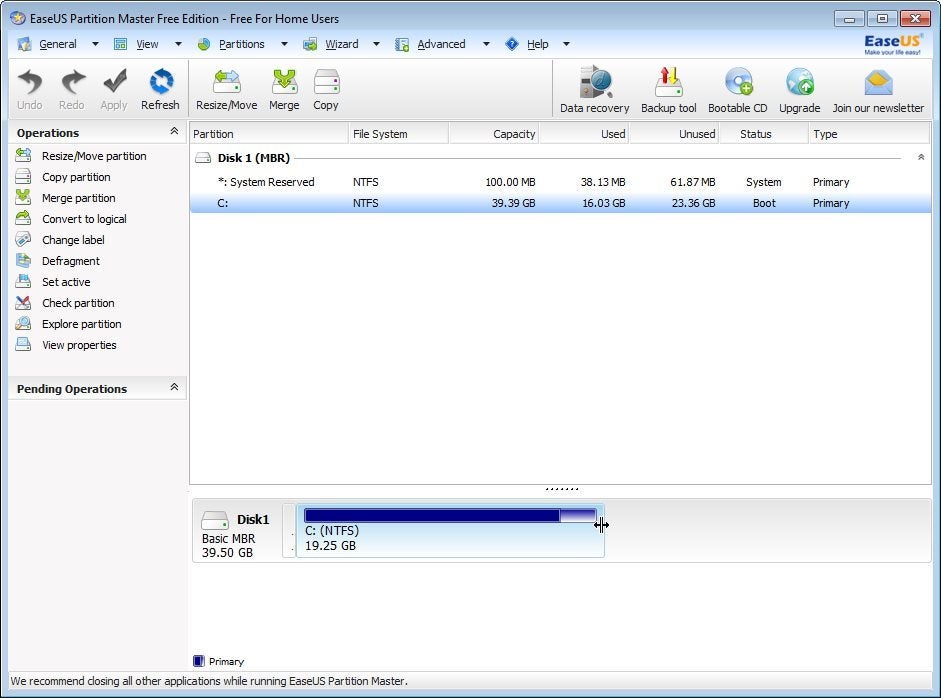
And therein lies Disk Management's problem. If the current partition has 228GB free drive, you should be able to shrink it by anything less than 228GB. But Disk Management may not let you shrink it anywhere near that much. If the program won't allow you to shrink the partition as much as you want, skip to the last paragraph.


No comments:
Post a Comment